MB Wooden Railways
A different approach to wooden railways
Welcome to MB Wooden Railways, which is part of a larger site concerned with Miniature Buildings . It discusses aspects of Brio (and compatible) railways and my own, not entirely usual, approach to them. For my other articles on the subject please go to Railways Articles
The box for my train 'board'
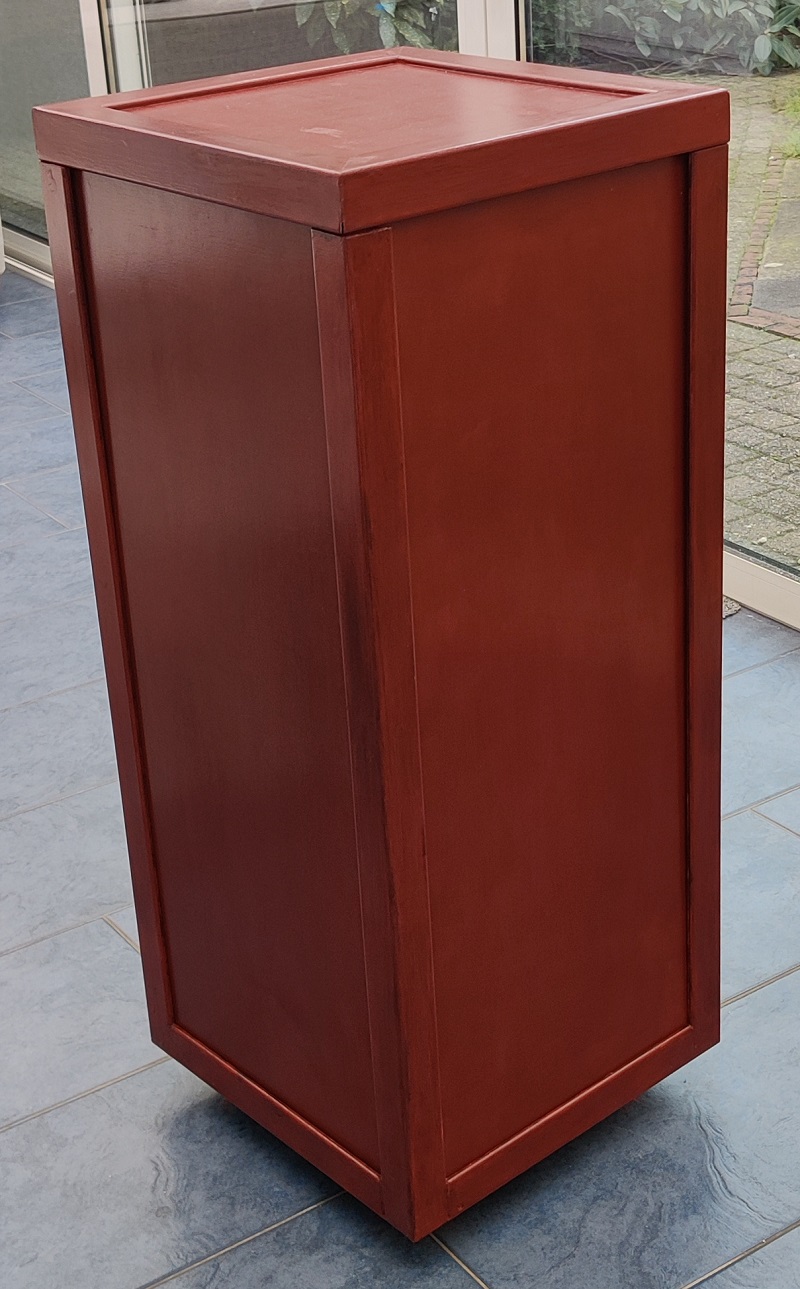
The box is now finished, the train board still a work in progress
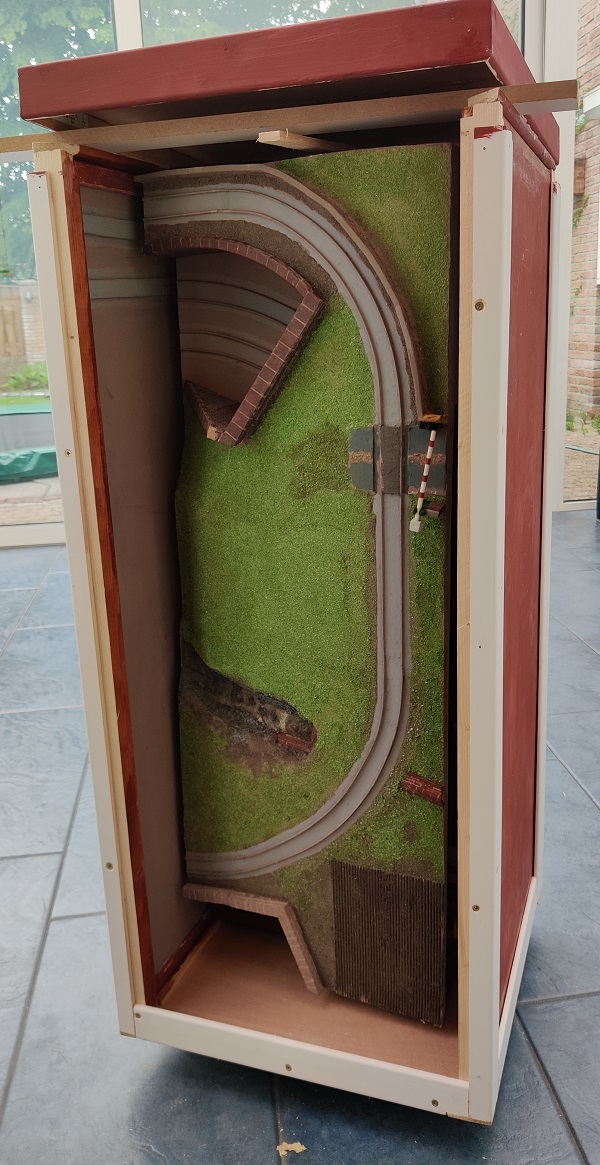
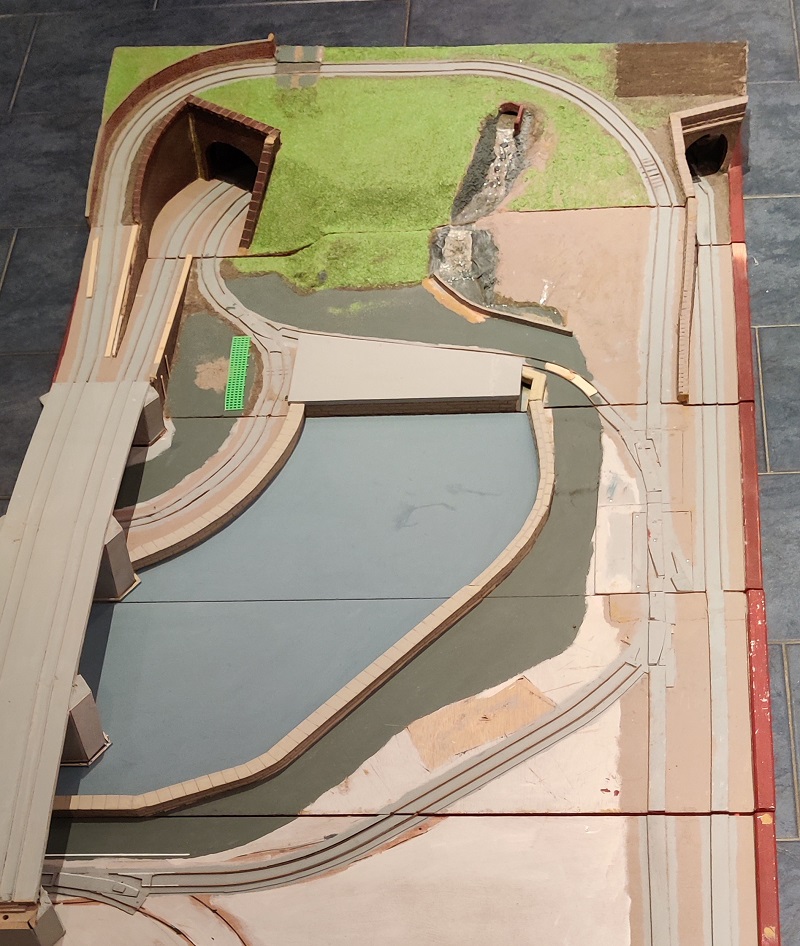
In My Train Board I describe how I am building a layout for Brio style trains. This article is about how it is constructed and in particular how it is designed to pack up into a box sufficiently neat to stand in the corner of the conservatory we use as a playroom when grandchildren come to visit.
The base board is made from seven sections of 12mm plywood each 40cm x 90cm, edged with a rounded L shaped softwood moulding. These need to be packed up and stored from one grandchild visit to the next. When it is out on the floor it measures 2.82 x 0.91 metres. The whole thing is designed so that the panels can be stored upright on their short edges in a way that uses the underside of three of the baseboard panels as sides of a wooden box. The remaining four panels fit inside the box.
The box has a solid base of x mm plywood. It is almost square, but not quite. This is driven by the sizes of the panels. The two end panels have an edging on one of the long sides, which makes them a few mm wider than the others. At the corners are four square sections of planed timber. Mine are 28 mm square. Allowing a 1mm clearance between the panels and the columns gives the base size of n mm x n mm. length of the corner columns is .
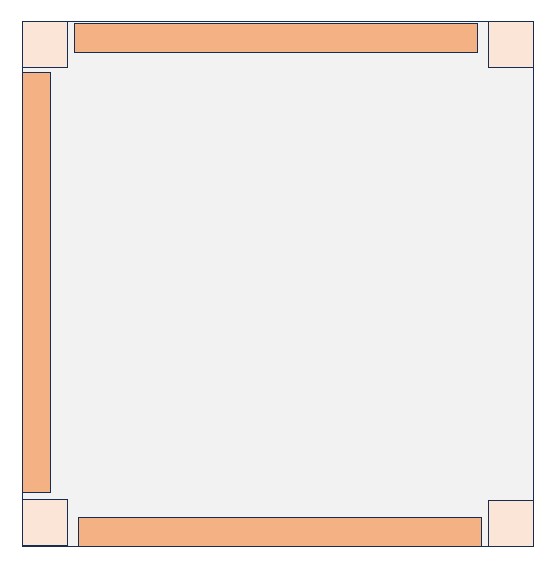 The wider panel is the one on the left of the image. This is the back of the box.
Wrapped around each of the four corners are L shaped timber mouldings. These are sold in most DIY stores.
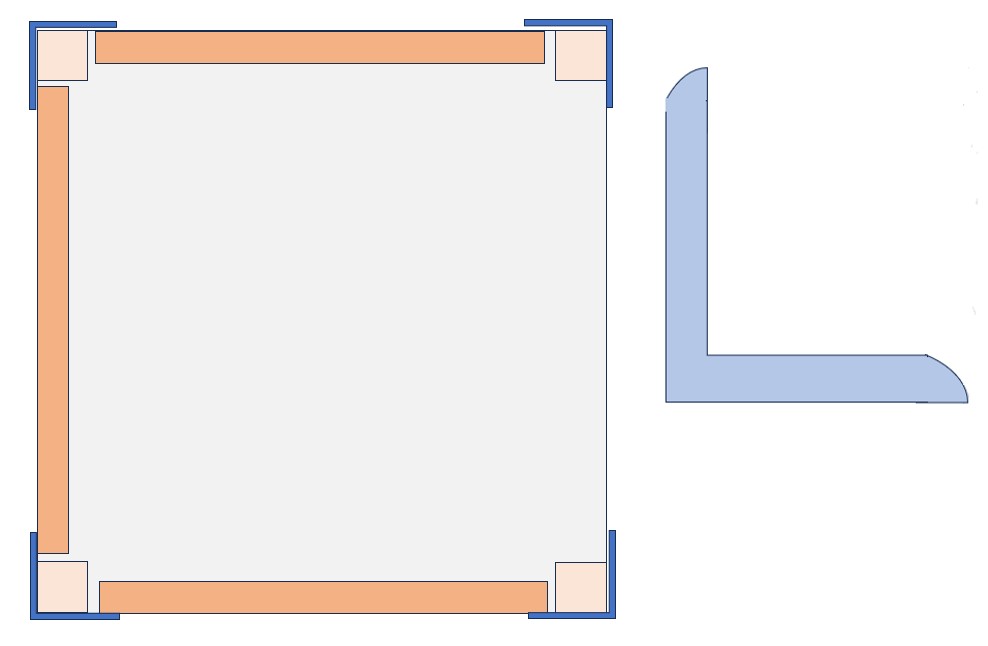
The dimensions of the components are all interlinked. The key is the internal measurement of the L sections. This needs to be wider than the square pillars which in turn need to be wider than the height of the panel edging. The L sections I used are 44 mm with an internal dimension of 38 mm. My columns are 28 mm square, giving an overhang of 10mm. My panel edging is xx mm. If I was starting again I would choose to have wider L sections and wider columns (maybe 60 and 50) but preserving the same sort of overhang - somewhere between 8 and 12mm. I might also make the two columns at the front of the box rectangular rather than square.
The height of the columns is the same as the length of the panels. The height of the L sections is a little shorter. The columns are held together at the top, on three sides by strips the same width as the width of the columns. The ends of each joining strips are mitred so that two strips meet on the top of each column. I used strips x mm thick (because that is what I had to hand) but Version 2 will use something a little thicker. There is no joining strip at the front of the box. The structure would be more stable with one but but this would make the process of fitting the panels into the box much harder - maybe impossible.
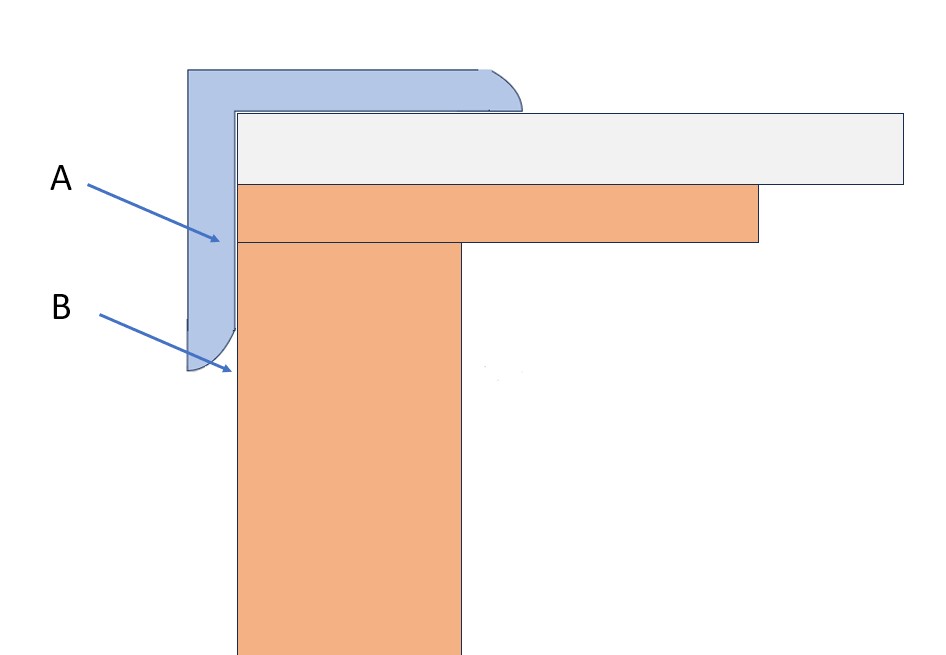
Stability is given to the box by its lid. This is another near-square sheet of xx mm plywood, the same size as the base, with L section all around it. The lid fits on the top of the joining strips. The distance between points A and B (the internal measurement of the L less the thickness of the plywood top less the thickness of the joining strips has to me measured. This distance 'X mm' is the amount by which the vertical L strips are shorter than the columns' height. A perfectionist would make small adjustments to allow for the square edge at the top of the L strips and the curved edge of the L strip on the lid. ....
As constructed the box is a jumble of softwood, plywood and white finished mouldings. With lots of filler covering the countersunk screws holding it all together and any imperfect joints. Not very pretty. To make it presentable the whole thing including the edges of the track boards and their undersides are painted first with a couple of liberal undercoats of Rustin's red primer. I have said elsewhere that I love this paint. It covers well and dries quickly to a flat matt surface which sands easily. Because of the plywood I used it does need a layer of grain-filling paste between the two undercoats. Once I get to a nice smooth red surface it will be finished with three coats of varnish. I find walnut produces a nice result. There is no substitute for getting the undercoat layers as smooth as you can before varnishing - varnish hides nothing, it makes flaws glaringly obvious.
The finished box
As always, please
e-mail
Miniature Buildings
if you have something to add. Comments, criticisms,
extra thoughts, pictures, or even complete articles
for inclusion in the Miniature Buildings site
are all welcome. Or if you would like to be added to
my mailing list to hear when a new article is published.
David, March 2024,